Do you want to learn how to change the oil in your generator?
I have great news for you! Our team here at Generatorist has helped over 600,000 visitors find information about generators and we will help you as well.
In this article, we will provide a step-by-step guide on how to change the oil in your generator. We will also discuss the importance of regular maintenance, including oil replacement, and the necessary equipment and precautions needed for the task.
Let’s begin.
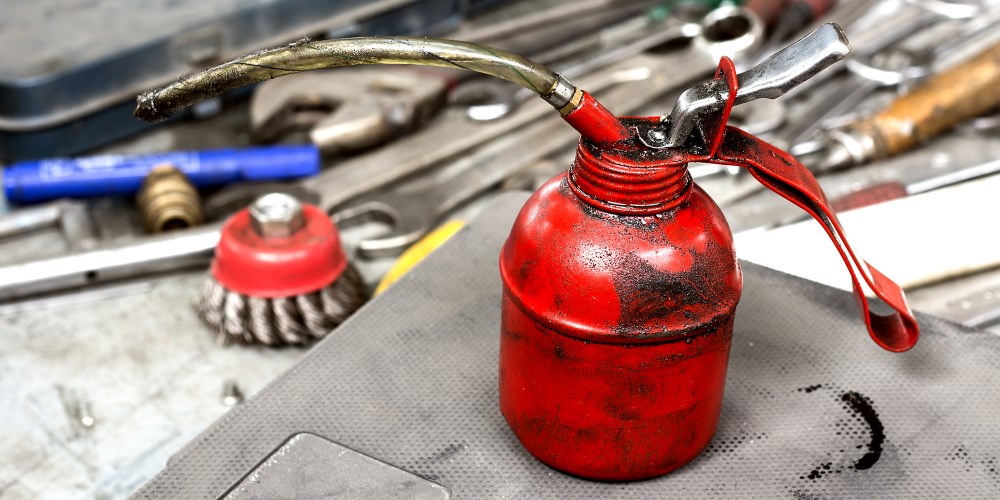
Regular maintenance of your generator will make it a truly dependable companion during the hurricane season. Such maintenance definitely includes the replacement of old oil.
Not only will the new oil better lubricate crucial parts of your engine, it will also make the starting process more comfortable and easy.
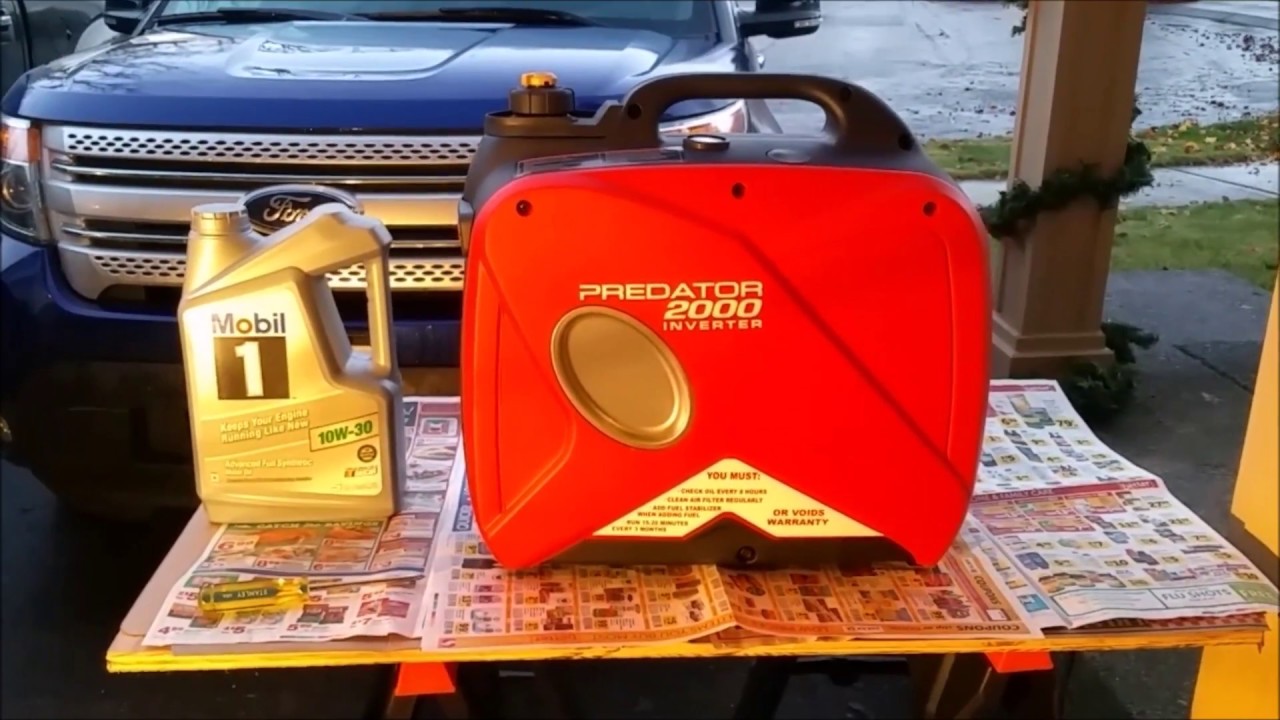
To assist you in this process, we have created an 8 step guide full of tips with detailed videos for the most popular generator brands out there (Generac, Honda, Ryobi, Cat, Champion, Yamaha or Predator).
Just keep your official product manual at hand as you will need to find the information on the oil filter (if applicable), recommended type of oil, its amount, and the frequency of oil replacement.
Just keep in mind that if you don’t understand any point in this guide, it may be better to leave the oil replacement to professionals.
ITEMS YOU WILL NEED
New oil (correct type)
Drain oil can/canister
New oil filter (correct type)
Clean brush & towel
Protective gloves
Protective goggles
Ratchet & oil filter wrench
Socket wrench (correct size)
Phillips & flat screwdriver
Oil funnel
8-STEP GUIDE
To change oil in your generator
Before you start replacing the old oil and oil filter in your generator, think about your safety. Put on some protective gloves and glasses.
Also, make sure you have all the necessary equipment at hand (see the list above).
Once you have done all this, you can proceed to the following steps.
Heat up the old oil
STEP #1
Firstly, you need to warm up the old oil inside the engine a little bit to make it drain out more easily. Hot oil has a much more liquid consistency.
To achieve this, all you need to do is to start your generator and let it run for a few minutes. After a couple of minutes, the old oil should be warm enough so you can turn the generator off.
Place generator on blocks
STEP #2
The next step is to get at least a couple of identical blocks and place them on a level surface. We prefer to place blocks on our large, sturdy table so that we do not have to bend our backs too much.
Then, you can put your generator on blocks so that there is a free space under the oil drain plug. Make sure that your machine is well seated, stable, and won’t fall of your blocks in any way.
Just keep in mind that some generators are too heavy to be lifted by a single person. Get at least one extra pair of hands if you decide to lift a heavy machine to avoid injury.
Unplug the spark wire
STEP #3
Once you have your machine safely seated on stable blocks, you need to locate the spark plug and unplug it. Doing this will prevent an accidental start of engine that has no oil in it.
Although in most cases the spark plug is easy to locate, there are some brands and models that hide this crucial part of engine under plastic covers. If you have problems locating your spark plug, consult your owner’s manual.
It may indicate where it may be hiding and how to get the best access to it. Also, some brands and more powerful models may include more than one spark plug.
That is why you should always check out the instructions manual you got with your generator.
Once you have located where your spark plug is installed, you need to remove the wire that is connected to it. To safely do so, you need to grab onto the spark wire boot firmly, then twist it in either direction and pull off at the same time.
This way you will easily (and safely) break the spark plug wire free even if it has been slightly corroded.
Rotating motion helps to unclip the connection from the spark plug and reduces the strain on the wire itself. Just never pull the wire portion as you can damage it that way easily.
Also, secure your wire in a place on the generator that allows no possibility of it coming into the contact with spark plug as you’re changing the oil.
Prepare for draining old oil
STEP #4
Once the spark wire is unplugged and in a safe place, you need to locate the oil drain plug. Usually, it is a 3/8″ nut with either square or hexagonal head.
Obviously, the size and shape of this nut depend on the brand and on the model of your generator so the safest way to locate it is to read through the owner´s manual.
There, you will find all the information you need to safely change the oil and oil filter (if applicable).
If the drain plug and parts all around it are dirty, you need to take your time to wipe away any oil residue and grime so you can clearly see what is happening there.
Don’t forget to place the oil pan or empty canister under your drain plug to catch every drop of old oil from your generator.
We love to use a drain pan by Lumax (but any leak-proof container will do the job).
You can also remove the oil filler cap to make the draining of old oil in the next step faster. Just make sure that nothing will be able to get into the opening.
Remove the oil plug
STEP #5
Once the drain pan is in place to catch any oil pouring out of your generator, the next step is to remove the oil drain plug. In most cases, you will need a ratchet and a 3/8″ socket.
We recommend using the ratchet just to loosen the plug.
Once loose, you should remove both ratchet and socket and unscrew the rest of threading manually. Just keep in mind that as soon as you remove the plug, the old oil will start to drain out of the engine.
Try your best to collect every drop of the old oil into your drain pan. This substance can easily contaminate the soil and water so don’t throw it into the trash bin. Instead, bring it into the closest place that is able to recycle it.
If your generator has oil filter, you should replace it as well. Some people don’t replace the oil filter as they drain the old oil to save some money. However, running the new oil through the old “dirty” filter is not the wisest idea.
Replacing both the oil and filter at the same time can significantly prolong the “life” of your generator and prevent its engine from malfunctioning.
Just gently grab the old filter into your wrench and loosen it slowly.
Once loose, remove the wrench and do the rest of unscrewing manually. Just keep in mind that oil filter can be quite hot so always wear protective gloves.
Also, some of the old oil may pour out of the opening or the filter itself so have that drain pan under your filter as well.
Examine the sealing surface on the oil filter adapter for debris or gasket material and clean it if necessary. Then grab your new filter and lightly lubricate its gasket with new engine oil.
Start installing it by screwing it in manually by your hands until the gasket contacts the filter adapter.
Then, grab your wrench or pliers and tighten the filter an additional 1/2 to 3/4 turn. Just pay attention to not overtighten or damage the filter (surprisingly, it is quite fragile).
Also, don’t forget to dispose of used motor oil and oil filters safely at your local auto parts stores or service stations.
You can look up the nearest recycling center at this website. Just call ahead and ask if they accept both motor oil and oil filters.
tighten plug & pour new oil
STEP #7
Once your new filter is in place, you need to reinstall the oil drain plug back to its place. Again, screw it in manually and then tighten it by a socket wrench.
Then, you need to remove the oil fill cap (if you haven’t done so already) and insert a funnel.
Now, it is the time to slowly pour in the new oil into your generator.
The type of oil and its required volume are individual for different brands and engine models so read through the official owner´s manual to learn how much oil you need to pour in.
Also, the temperature and climate of the environment where you will be using your generator affects the type of oil you might need.
Once you pour in the recommended amount of oil, you need to remove the funnel and close the oil fill cap. It’s always the best option to go for a high quality oil as it protects your engine from damage and wear.
Reconnect the spark plug wire
STEP #8
The last step you need to do is to re-connect the spark plug wire. Again, grab the boot of this wire and slide it over the top of the plug. Then, press it in until it goes all the way in.
Often, you will either feel or even hear a click from the connector getting into the right position. Once your plug is reconnected, you can reattach any covers you had to take down to get to it and you are done.
Start your generator and let it run for a couple of minutes to allow the clean oil to move throughout and lubricate the engine.
After a couple of minutes, turn your generator down and re-check if the oil level is within the recommended range. If not, then follow the steps above and add more oil until you reach the required level.
Thanks to the change of both the oil and oil filter (if applicable), your generator will be a reliable companion during the hurricane season that is always ready to serve.
I know that following our guide without any visual aid may be confusing at certain points. That is why we have created this collection of YouTube video guides on changing oil in specific brands and types of generators.
We hope that it will help you answer any questions you may still have. If you will not find a video-guide to your generator, please let us know the brand and model you are looking for in the comments section below.
We will do our best to add your requested video-guide to this list.
Our aim here at the Generatorist is to become the No. 1 resource for all things related to generators & your power needs. We have helped over 600,000 visitors with our tips, articles and reviews and we will help you as well.
Our work has been featured in many publications around the world – Yahoo.com, Telegram.com, PaylessPower.com, PopSci.com, TopTenReviews.com, TechRepublic.com, iRV2.com, ThePrepared.com, Renogy.com or ADT Solar. Generators are our passion, and we strive to provide the most reliable & most comprehensive information out there.